User Groups
Overview
The Groups feature allows for the creation, management, and organization of participants into groups within a session.
This feature helps streamline administrative tasks by supporting certain actions on a group of users rather than an individual user. This can help provide tailored experiences to smaller groups of users within the same session.
Examples of how groups could be used include:
- In-person and virtual groups
- Mentor/Mentee groups
- A group for platform facilitators
This feature was released in August 2024 and is still under development. The ability to administrate groups is available, but groups are not yet widely adopted across the platform. Functionality to utilize groups in more areas of the platform will be expanded in the future.
Currently, groups functionality is only available to session administrators and facilitators. Participants cannot see any group functionality, nor can they see when they are members of a group.
At present, groups can be used for the following actions:
- Invitation to invite-only events
Group Administration
General Settings
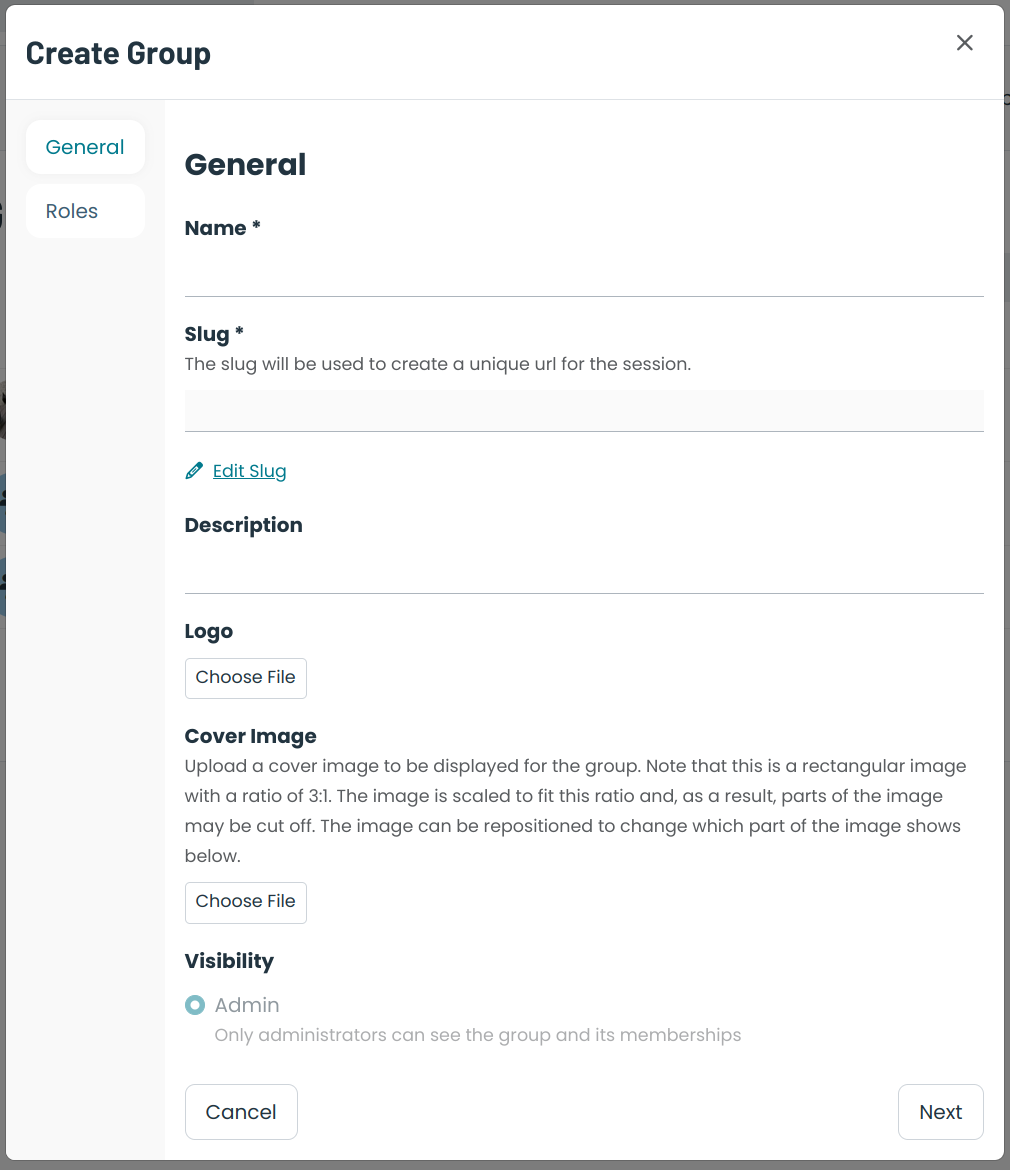
When creating or editing a group, you can customize the following fields:
- Title
- Slug
- Description
- Visibility
- Public: Viewable by all users enrolled in the session (not yet supported)
- Private: Viewable to group members and admins only (not yet supported)
- Admin: Viewable to session administrators and facilitators only
- Logo: Used where you would typically see User Avatars
- Cover Image
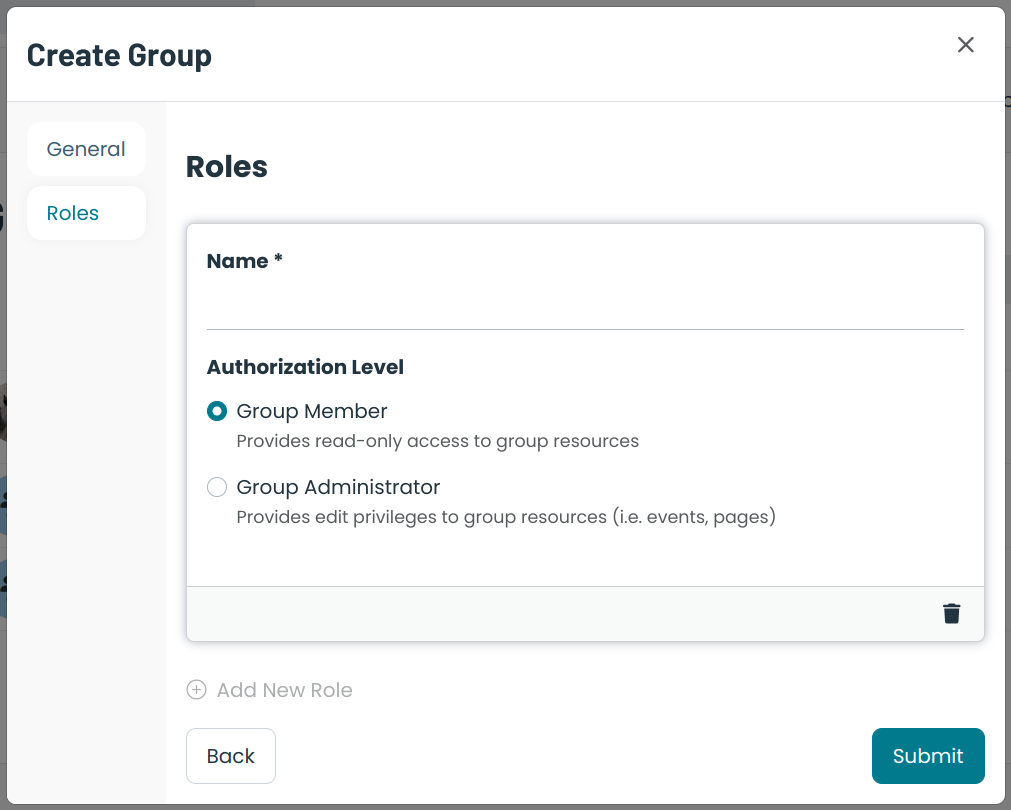
Group Membership Roles
Administrators can set up custom "roles" for each group. Each role has a name and an authorization level of either "member" or "administrator". Roles with the "administrator" authorization level will have access to administer group resources (e.g., events). Roles with the "member" type will not be able to change group resources. A group must have at least one role.
Note:
- Session administrators and facilitators always have access to administrate groups. They do not need to be members of a group to have administrative access.
- Groups do not necessarily need an "administrator" role to be administered.
- As of August 2024, only the "Admin" group visibility is supported. This means that only session facilitators have access to group settings and resources.
- Members of the group with an "administrator" role do not currently have the functionality to edit group resources.
Group Memberships
Members can be added to a group after it is created. They can be added individually or via bulk import (up to 500 at a time). A member's role can be changed or they can be removed from the group at any time. A list of members is shown on the "Members" tab of the group's settings page.
Important notes:
- Only users enrolled in the session can be added to a group.
- Members do not receive notifications when added to a group.
- Members cannot see any group functionality or their group membership status.
Group Events
Administrators can create private events limited to a specified group. Events that have granted access to the group will be shown on the "Events" tab of the group's settings page. Note that there may be other user or group permissions on the event. Any combination of groups and users can be added to an event.
Private events can be created directly from the groups page. Alternatively, a group can be added to a new or existing event through the "Edit Event" form.
Group members will see private events in their event agenda.
Usage
Creating/Editing a Group
- Click your avatar in the top right corner and select "Session Settings" from the dropdown menu.
- Click the "Groups" tab in the left-hand menu of the settings page.
- Click "Create New Group".
- On the "General" tab, fill in the title field and any other desired optional fields.
- Click "Next".
- On the "Role" tab, add at least one group role, specifying the role name and authorization level.
- Click "Submit" to create the group.
Deleting a Group
- Click your avatar in the top right corner and select "Session Settings" from the dropdown menu.
- Click the "Groups" tab in the left-hand menu of the settings page.
- From the list of groups, click on the group you wish to delete.
- Click the ellipsis button in the top right.
- Click "Delete Group".
- Verify your decision and click "Delete".
Adding Members
- Click your avatar in the top right corner and select "Session Settings" from the dropdown menu.
- Click the "Groups" tab in the left-hand menu of the settings page.
- Select a group from the list.
- On the "Members" tab (default), choose one of two options for adding members: individually or via bulk import.
Individually
- Click "Add Member".
- Select the correct user from the dropdown.
- Select the desired role.
- Click "Submit".
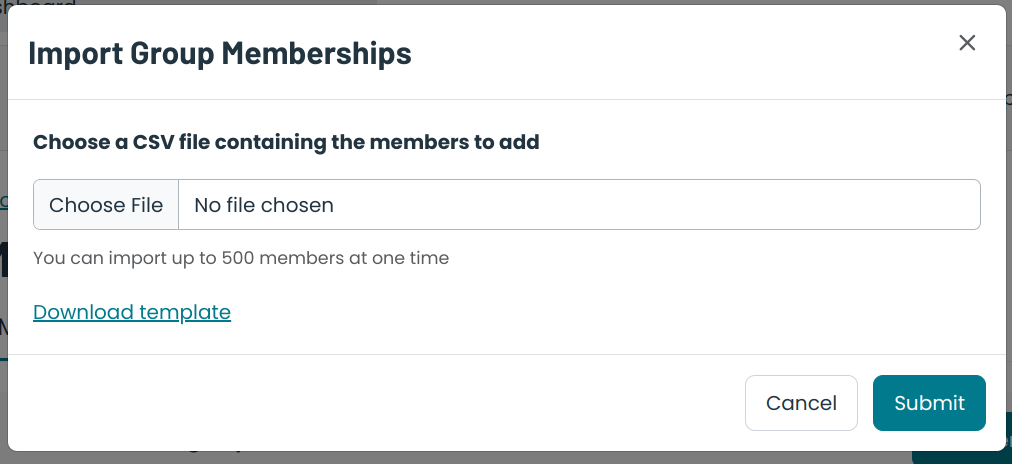
Bulk Import
Up to 500 members can be invited at a time. Note that users must already be enrolled in the session.
- Click "Import".
- Download the CSV template.
- Add the email address and role name for each user you wish to invite.
- Save the file.
- Upload the file and click "Submit".
- A message will indicate how many imports were successful and how many failed.
- If any imports failed, download the file from the link in the error message.
- Update the rows in the file to correct the errors based on the provided messages.
- Repeat the upload process.
- Once all users have been successfully invited, close the import modal.
Note: If the import is partially successful, successfully invited users should not be included in the corrected file.
Editing Members
You can edit a member's role at any time.
- Click your avatar in the top right corner and select "Session Settings" from the dropdown menu.
- Click the "Groups" tab in the left-hand menu of the settings page.
- Select a group from the list.
- On the "Members" tab (default), find the member you wish to edit.
- Click the ellipsis and select "Edit Member".
- Change the role as desired.
- Click "Submit".
Deleting Members
- Click your avatar in the top right corner and select "Session Settings" from the dropdown menu.
- Click the "Groups" tab in the left-hand menu of the settings page.
- Select a group from the list.
- On the "Members" tab (default), find the member you wish to remove.
- Click the ellipsis and select "Remove from Group".
- Confirm your decision and click "Delete".
Creating a Group Event
- Click your avatar in the top right corner and select "Session Settings" from the dropdown menu.
- Click the "Groups" tab in the left-hand menu of the settings page.
- Select a group from the list.
- Click the "Events" tab.
- Click "Add Event".
- Create the event as usual. On the event access tab, the event will already be marked as "Invite Only" with the group selected in the "Grant Access" field. Add any other necessary permissions.
- Click "Submit".
Editing a Group Event
- Click your avatar in the top right corner and select "Session Settings" from the dropdown menu.
- Click the "Groups" tab in the left-hand menu of the settings page.
- Select a group from the list.
- Click the "Events" tab and find the event you wish to edit.
- Click on the row to open the event details page.
- Edit the event as needed - you can remove the group permission from the "Grant Access" field on the event access tab if required.
- Click "Submit".