Chat
The TechChange platform supports real-time chat between users within a session environment. The chat feature is available in two separate contexts:
Within the session chat widget located at the bottom right corner of the screen
Within the chat box on the details page of a live event
This guide will walk you through the different features of both the session and event chat as well as how to enable automated translations of chat messages or disable the chat feature completely.
Session Chat
The session chat widget can be opened by clicking on the speech bubble icon located in the bottom right corner of the screen within a session environment. The side panel of the session chat widget lists both the user's direct messages as well as the user's active channels. The main panel displays the active content selected from the side panel.
Direct messages
Users can search for and open direct messages with other enrolled members of the session by clicking on the Open Direct Message button. Note that if a user has opted out of chat on the platform, their user will not appear in the search results (see Disabling Chat for more information).
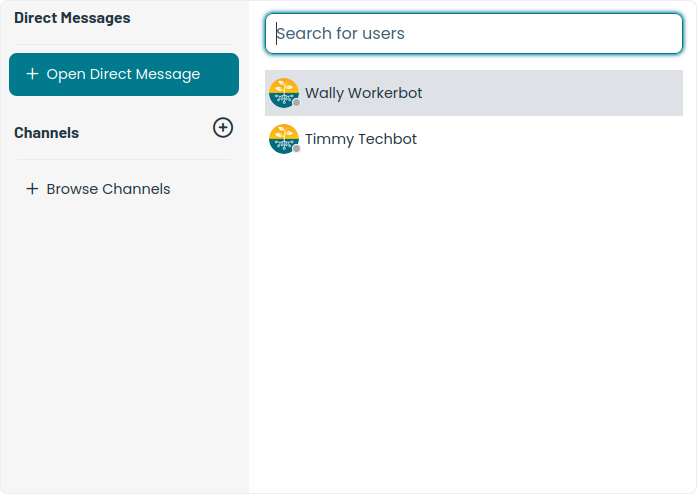
A user can open a direct message by clicking on a user from the listing. The user will appear under the list of direct messages in the side panel. Once the direct message has been opened, a red notification badge will be displayed for any new unread messages.

Channels
Chat channels allow users to have focused discussion around a given topic. Users can search for and open existing channels by clicking on the Browse Channels button located in the side panel.
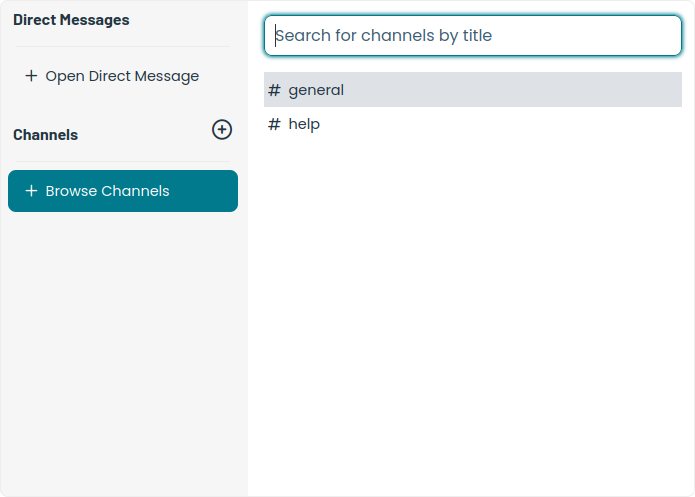
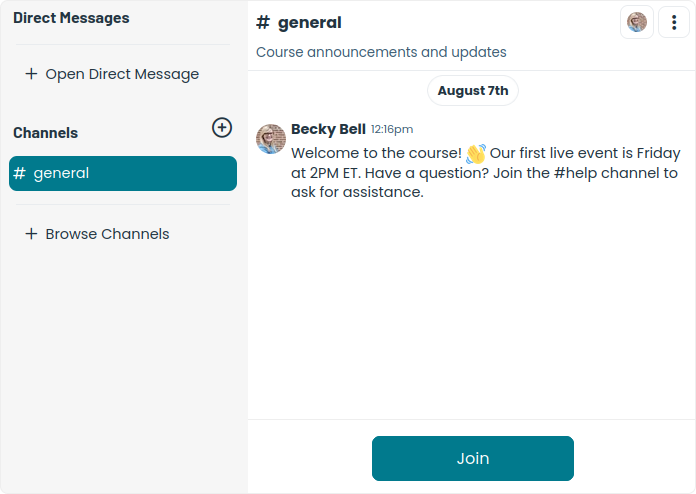
A user can open a channel by clicking on the channel from the listing. If a user is not already a member of a channel, they can click the Join button to become a member of the channel and receive notifications for incoming messages. The channel will also appear under the list of channels in the side panel.
There are two types of channels:
Public. Public channels are visible to all enrolled users from the search bar and available for anyone to join. Only session administrators are able to create public channels.
Private. Private channels are only visible and accessible to users who were added as members when the channel was created. Both session administrators and students can create private channels.
To create a channel, click on the plus icon located to the right of the Channels header in the side panel of the session chat application.
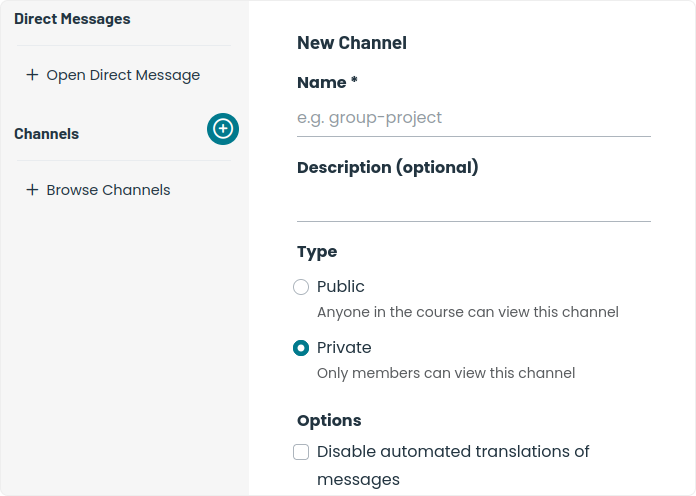
All channels require a title. Note that channel titles must be all lowercase and only include alphanumeric characters or dashes. You can also provide an optional description if desired. Session administrators can specify if automated translations are available for the channel. Note that even if translations are not disabled, individual users must enable automated translations for themselves in order for the translation feature to be activated.
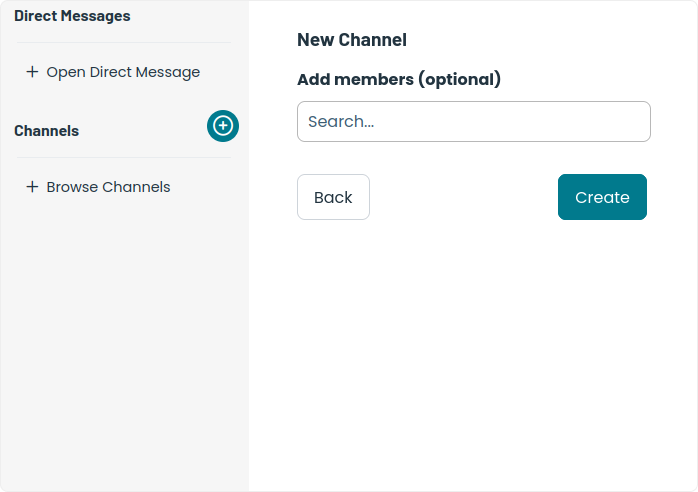
Before creating a channel, you also have the option to add channel members. Select the users you want to add, if any. Session administrators have the option to add all enrolled users to the channel at once. Note that any enrolled user can join or leave a public channel at any time. For private channels, members must be added at the time of channel creation. Once a private channel has been created, channel members cannot be changed.
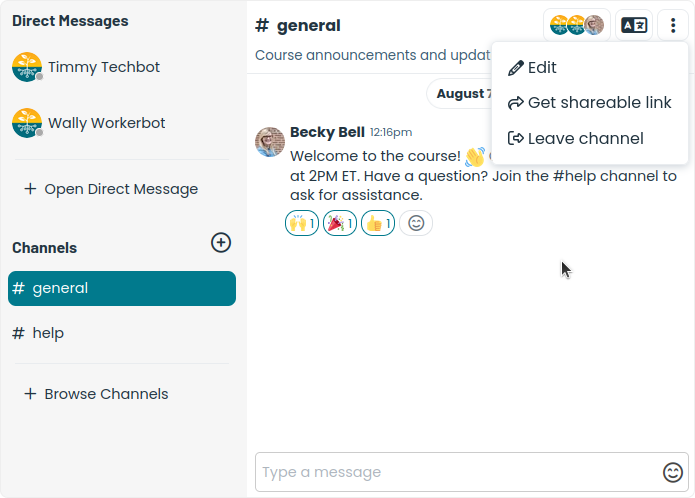
Once a channel has been created, members can start sending messages. The top bar of the channel view displays the channel title, a description, if any, as well as a set of additional channel details and actions in the top right corner, including a list of channel members, automated translation settings, and a dropdown menu for additional options.
Message Notifications
When a user receives a new chat message, a red badge will appear on the chat widget button in the bottom right corner. This badge will display the total number of unread chat messages for the user. When the chat application is open, the number of unread messages for each channel will be displayed next to the title.

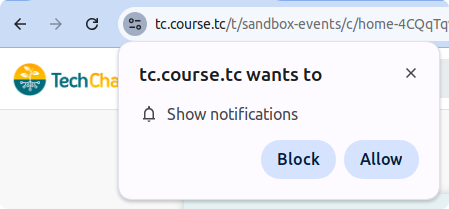
When a user visits the session for the first time, their browser will request permission for the platform to send browser notifications. If the user opts in, the browser will send a notification to the user whenever a new message is sent.

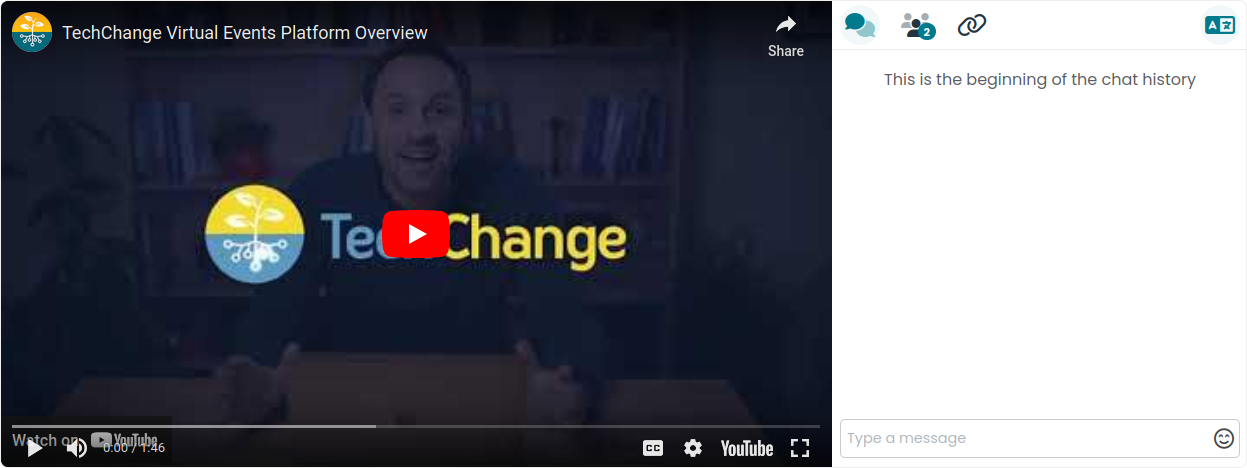
Event Chat
A chat feature is also available for live events. If chat is enabled for an event, when the event is in the live or past state, a chat window will be visible to the right of the embedded event video. This feature is enabled by default and is only available for internal events. To learn more about events on the TechChange platform, click here.
Additional Options
Automated Translations
Session administrators can enable the automated translations feature for a given chat channel or for the entire session. If this feature is enabled, a translation icon will be visible in the top right corner of the chat window in both the session and event chat contexts.
When a user accesses the chat for the very first time, a prompt will be displayed letting them know that automated translations are available if enabled:
![]()
A user can click on the translation icon in the top right corner of the chat window to open a dropdown displaying the translation settings for the given chat conversation. Automated translations can be enabled for the user by clicking on the toggle switch in the dropdown:
![]()
![]()
The language preference for automated translations will be set to whatever the current display language setting is. If none is set, the language detected by the browser will be used. A user can update their preference for the automated translation language by clicking on the Change Language Preference link from the translation settings dropdown. This will open the language settings modal where a user can select their preferred language for the automated translations:
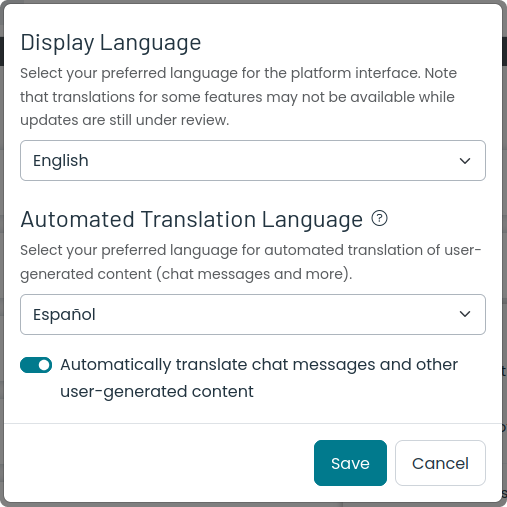
Note that users must opt in to this feature themselves. Once initially enabled, however, any new chat that a user joins will have translations enabled by default unless turned off specifically for a given chat conversation. Users can disable this behavior by toggling off the option at the bottom of the language settings modal.
Disabling Chat
Disabling Session Chat
Organization administrators can disable session chat for a given session:
Click on your avatar in the top right corner and select Admin from the dropdown menu.
From the admin portal, select Courses from the left-hand menu bar.
Find the course you want to update in the courses listing.
Select the session of the course you want to update in the sessions listing.
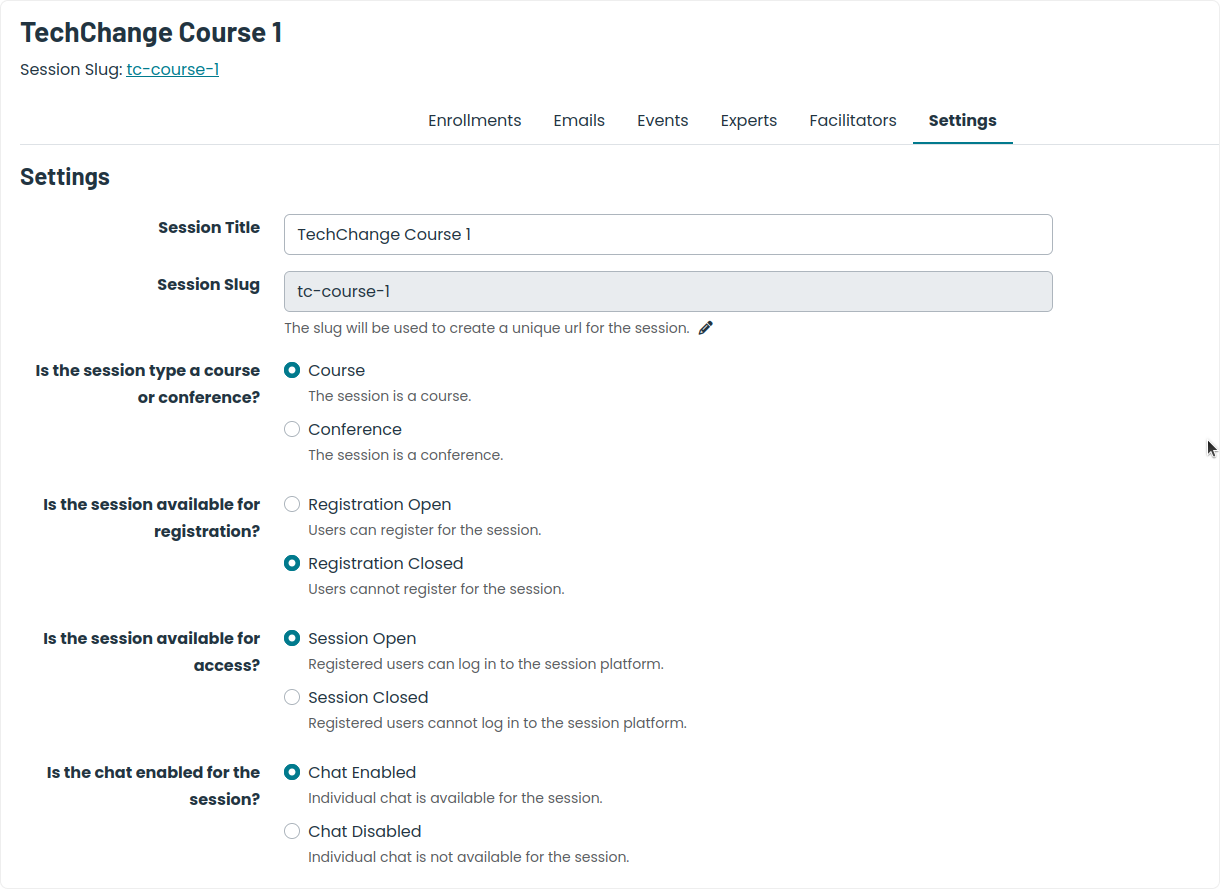
Click the Settings tab.
Under Is the chat enabled for the session?, select the Chat Disabled radio button.
Scroll down and click the Save Changes button.
Refresh the session page to see updates.
Disabling Event Chat
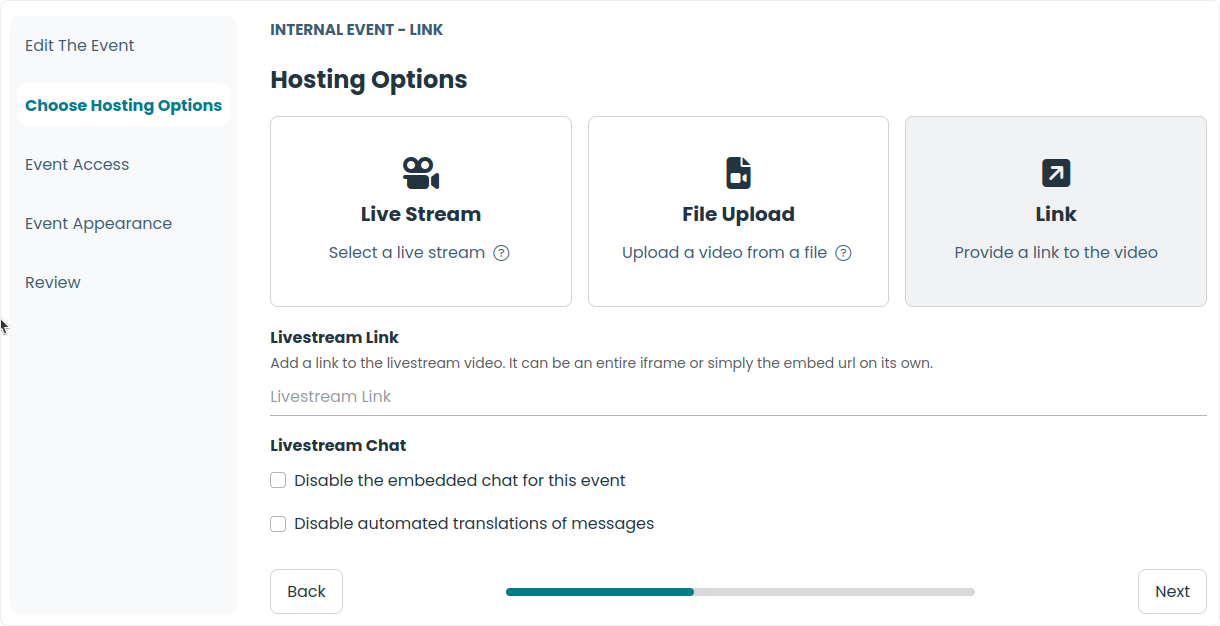
When creating or editing an event, session administrators can disable the livestream chat as needed:
Under the Choose Hosting Options section of the event form, find the Livestream Chat header.
Check the Disable the embedded chat for this event checkbox to disable chat for the event.
Disabling Chat for an Individual User
Individual users can disable chat completely from their user preferences page:
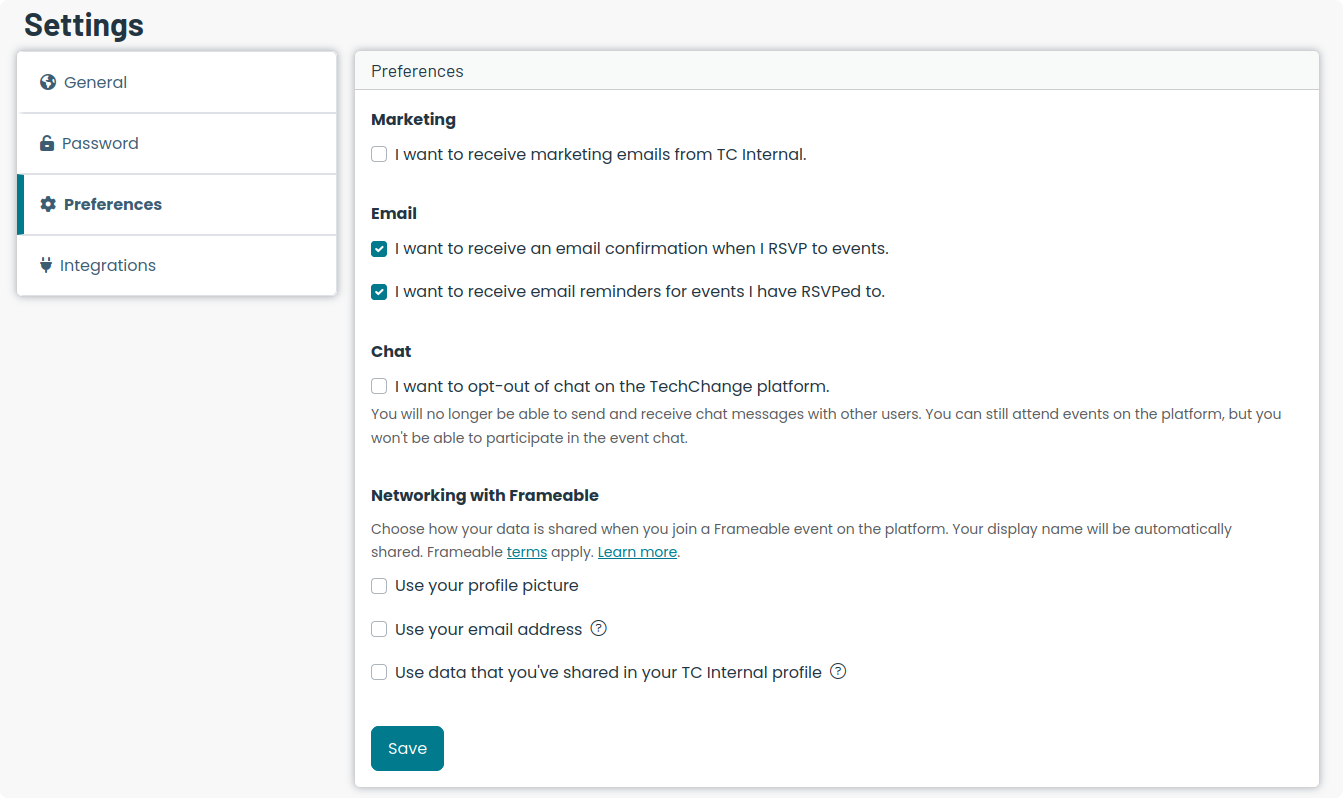
Click on your avatar in the top right corner and select Settings from the dropdown menu.
On the user settings page, select Preferences from the left-hand menu bar.
Under the Chat label, check the I want to opt-out of chat on the TechChange platform checkbox option.
Refresh the session page to see updates.
Note that enabling this setting will disable the chat feature for the individual user across all sessions. They will not see the chat widget or any chat window for live events. Their user will not be included in the direct messages listing within the session chat widget.
Chat Moderation
Deleting Chat Messages
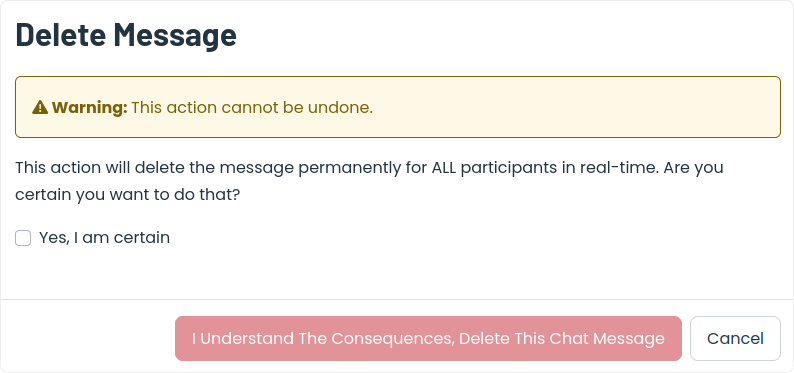
Any session administrator can delete a chat message if needed.
Locate and hover over the chat message to be deleted.
Click on the ellipsis icon in the top right corner of the chat message.
Select Delete from the dropdown menu.
Click on the checkbox in the confirmation modal and click the red button.
Once you delete a chat message, the message will be removed from the direct message or channel for all users in real-time (i.e. users do not need to refresh the page to see updates).
Removing a User from a Session
If for whatever reason a user needs to be removed from a session, any organization administrator can update the user's enrollment to Inactive. This will remove the user's access to the session in real-time.
Click on your avatar in the top right corner and select Admin from the dropdown menu.
From the admin portal, select Users from the left-hand menu bar.
Find the user you want to update in the user listing.
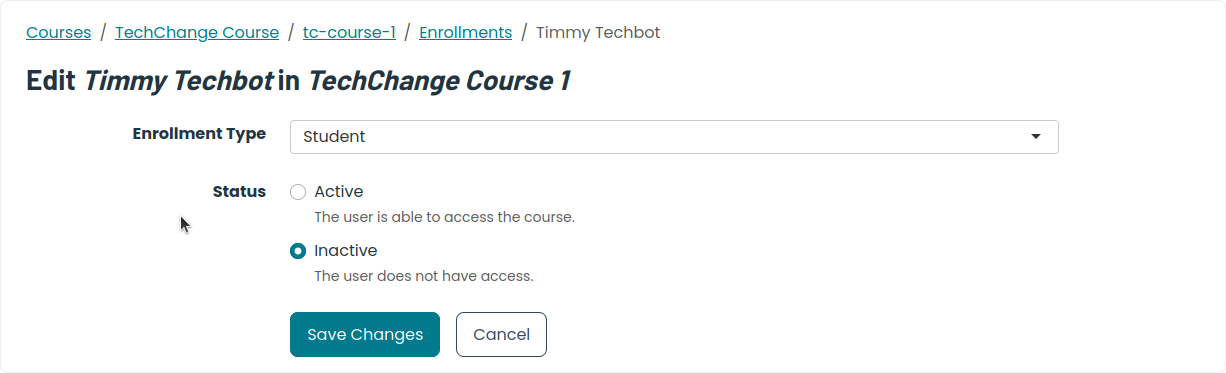
Click Edit on the enrollment to update from the list of session enrollments.
Click the Inactive radio button and click Save Changes.