Catalog Pages
Catalog Homepage
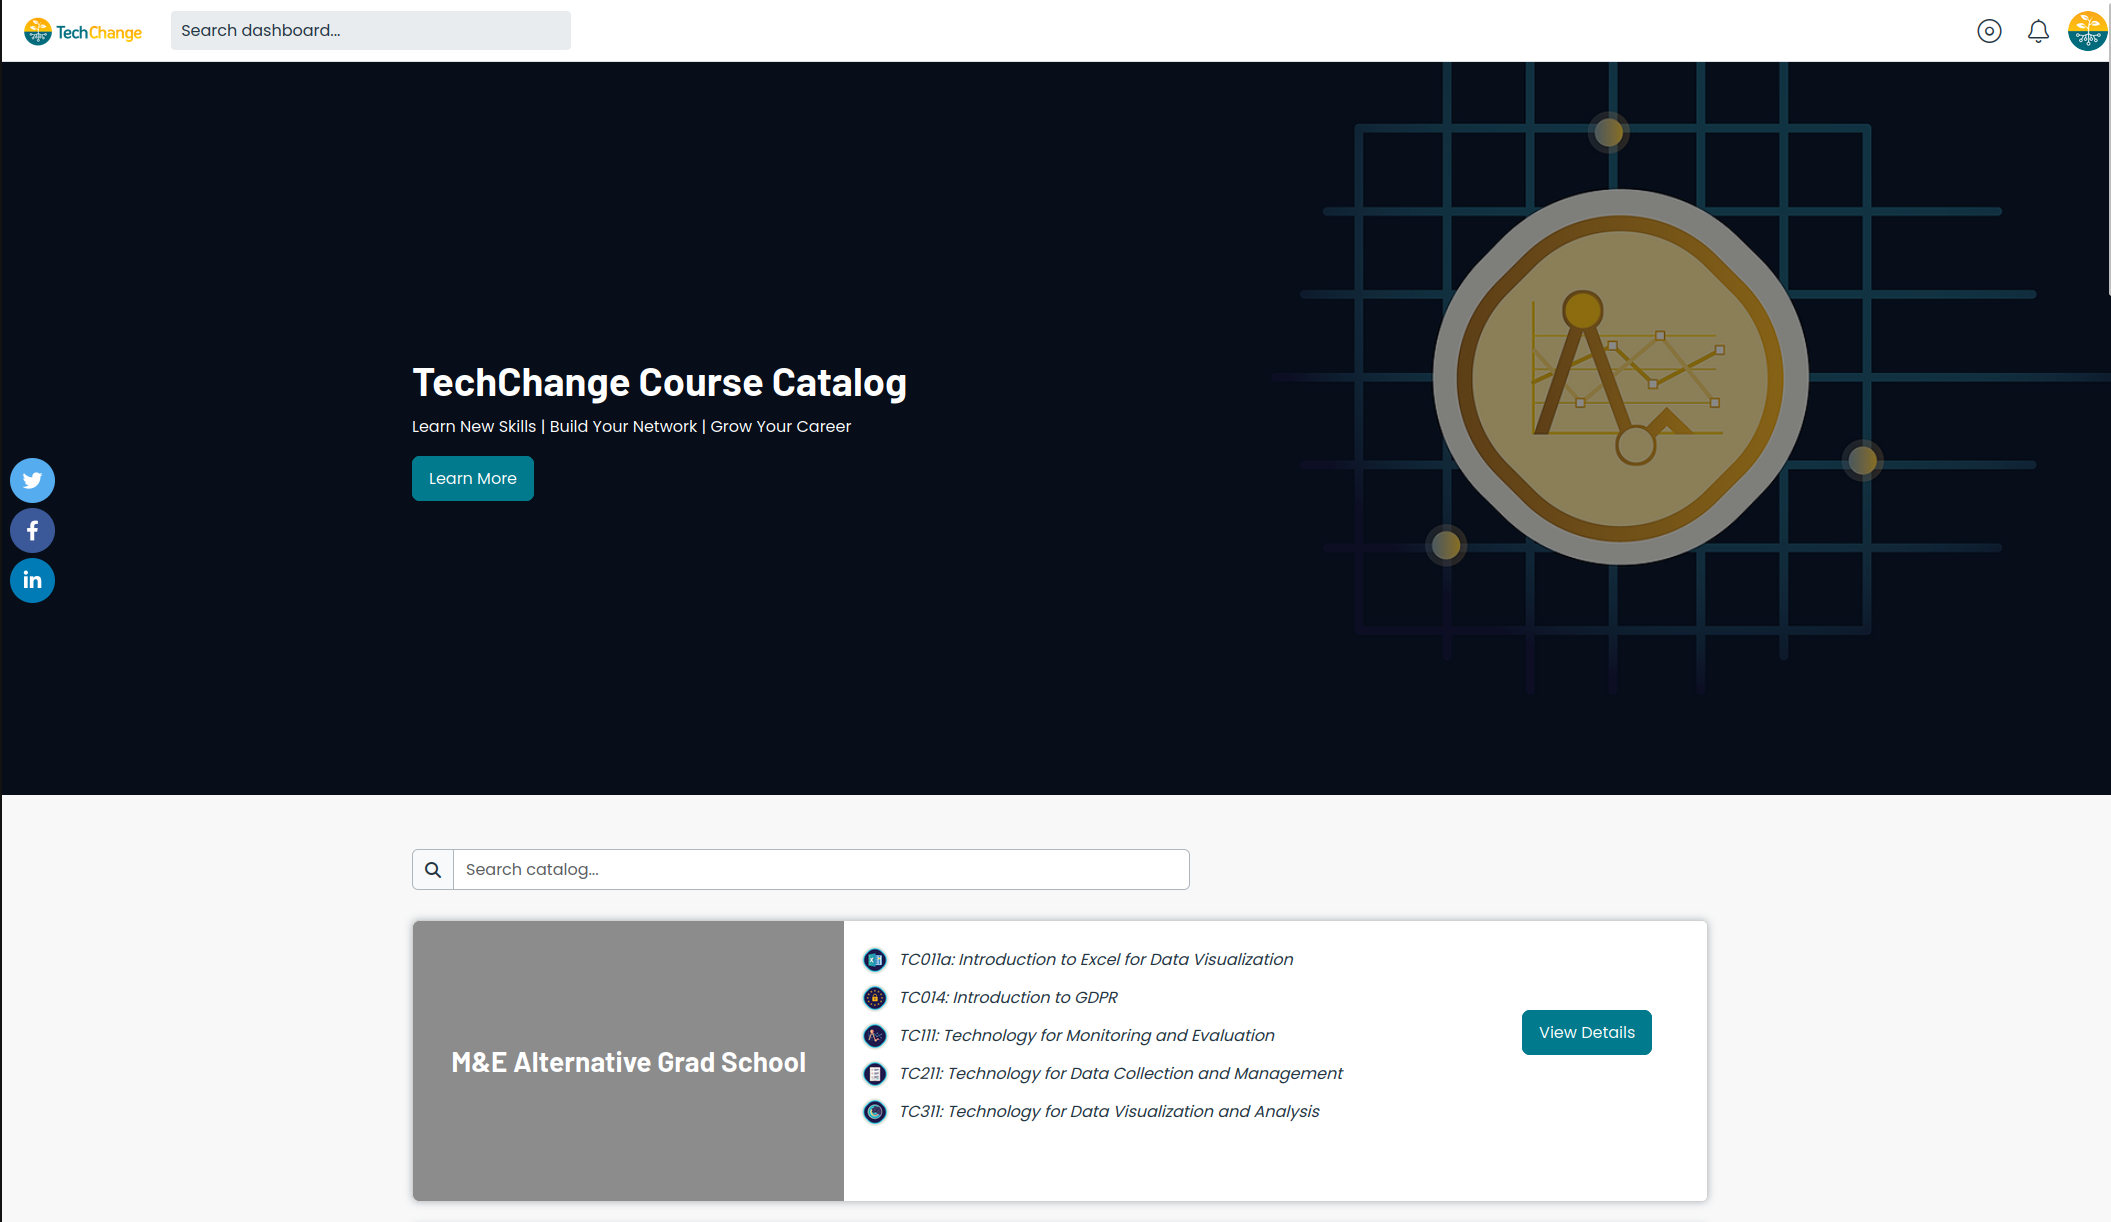
The homepage of the platform is a publicly available catalog of all the products (i.e. courses and tracks) in your organization.

Catalog Homepage Settings
You can control the settings and appearance of the catalog homepage from the Admin Dashboard, i.e. navigate to the "Catalog Information" page via the Settings -> Catalog menu item.
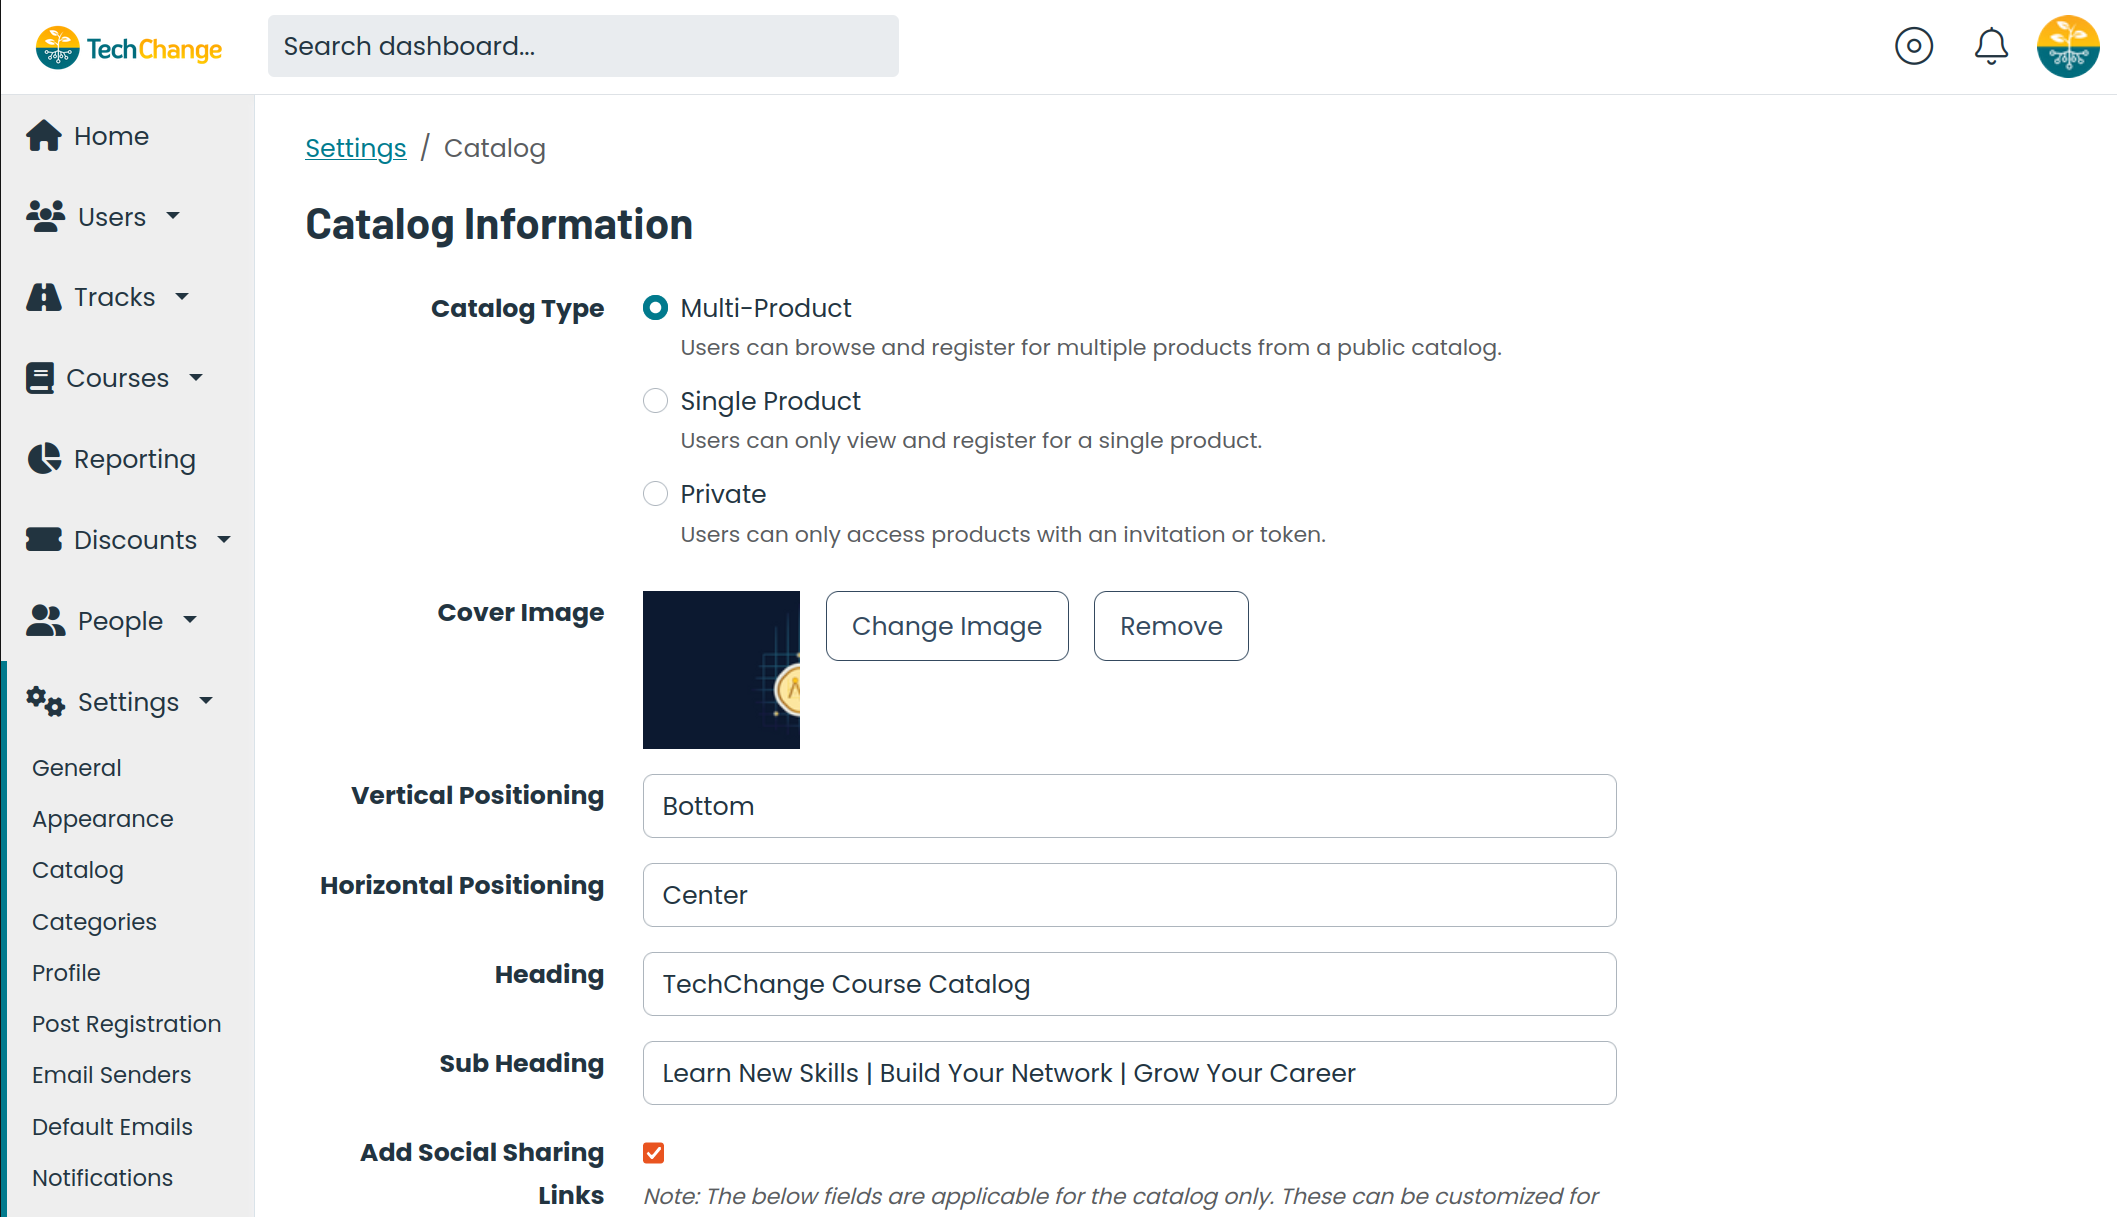
- Choose the type of catalog homepage to use:
- Multi-Product (default): Users can browse and register for multiple products from the public catalog homepage. Products that are public and published will be visible for all users, regardless of logged-in, logged-out, admin, non-admin, etc. status.
- Single Product: Non-admin users can only view and register for a single, featured product, which can be used to highlight a specific course or track. The catalog homepage will automatically redirect to the listing page for the featured product for a non-admin user.
- Private: Non-admin users can only access products via an invitation, enrollment token, or being manually enrolled by an admin. There will be no catalog homepage or listing pages for non-admin users.
- Upload a cover image, add top-level heading text, social sharing buttons, and more.
- Control the ordering of products on the catalog homepage. NOTE: All track products will take precendence over course products by default, i.e. will be displayed at the top of the catalog homepage.
Course/Track Listing Page
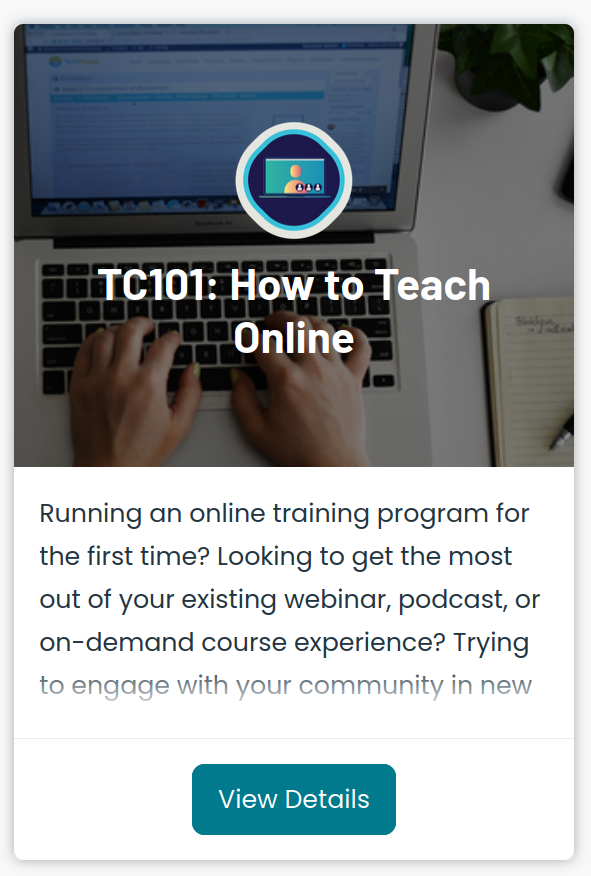
In addition, each course/track has a dedicated catalog listing page of its own.

Catalog Listing Page - Product Settings
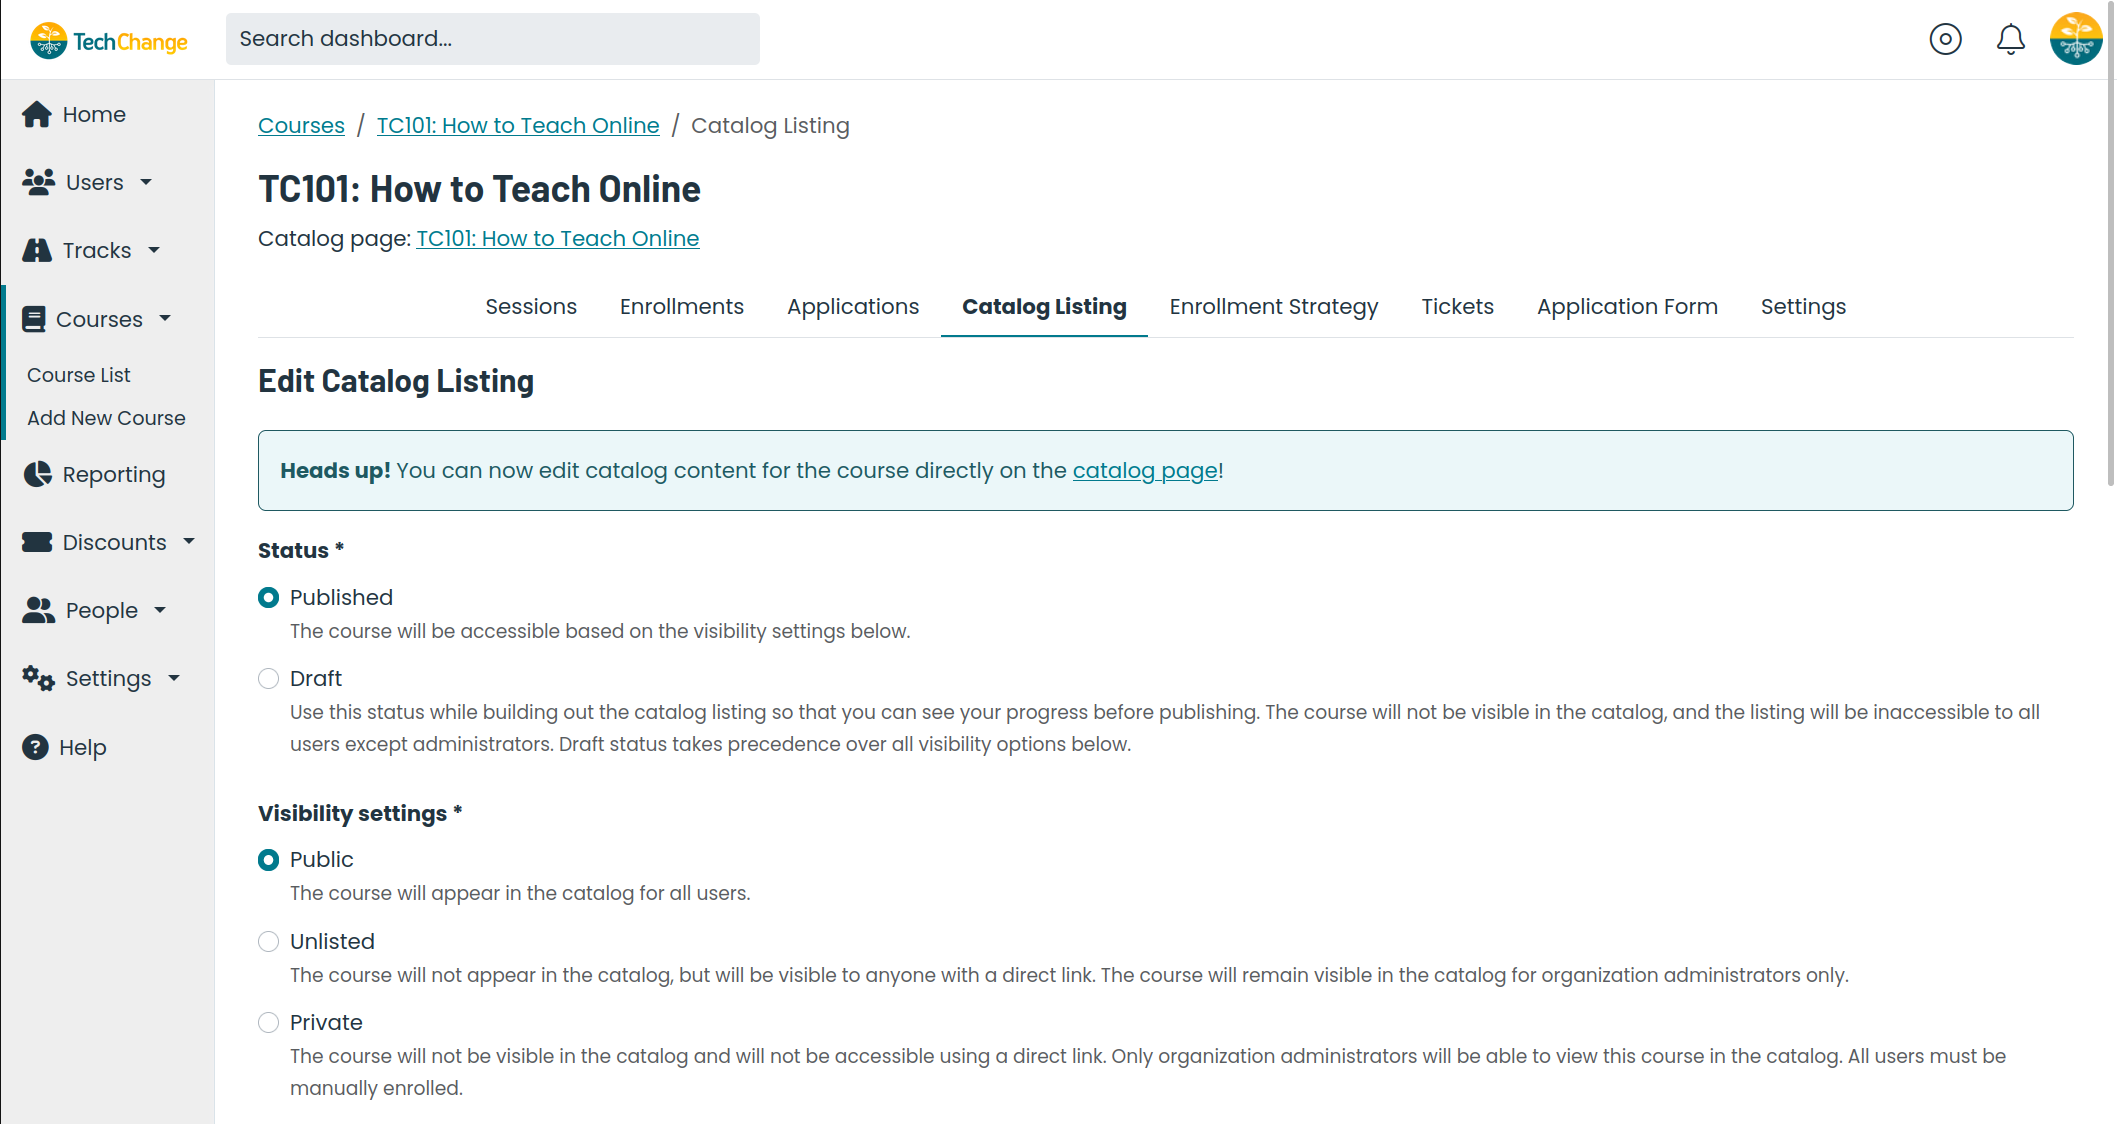
You can control the settings and appearance of the catalog listing page for each course/track (i.e. product) from the Admin Dashboard, i.e. navigate to the "Catalog Listing" page.
For a course:
- Select the Courses -> Course List menu item.
- Select the course from the list of all courses.
- Click on the Catalog Listing nav item.
For a track:
- Select the Tracks -> Track List menu item.
- Select the track from the list of all tracks.
- Click on the Catalog Listing nav item.
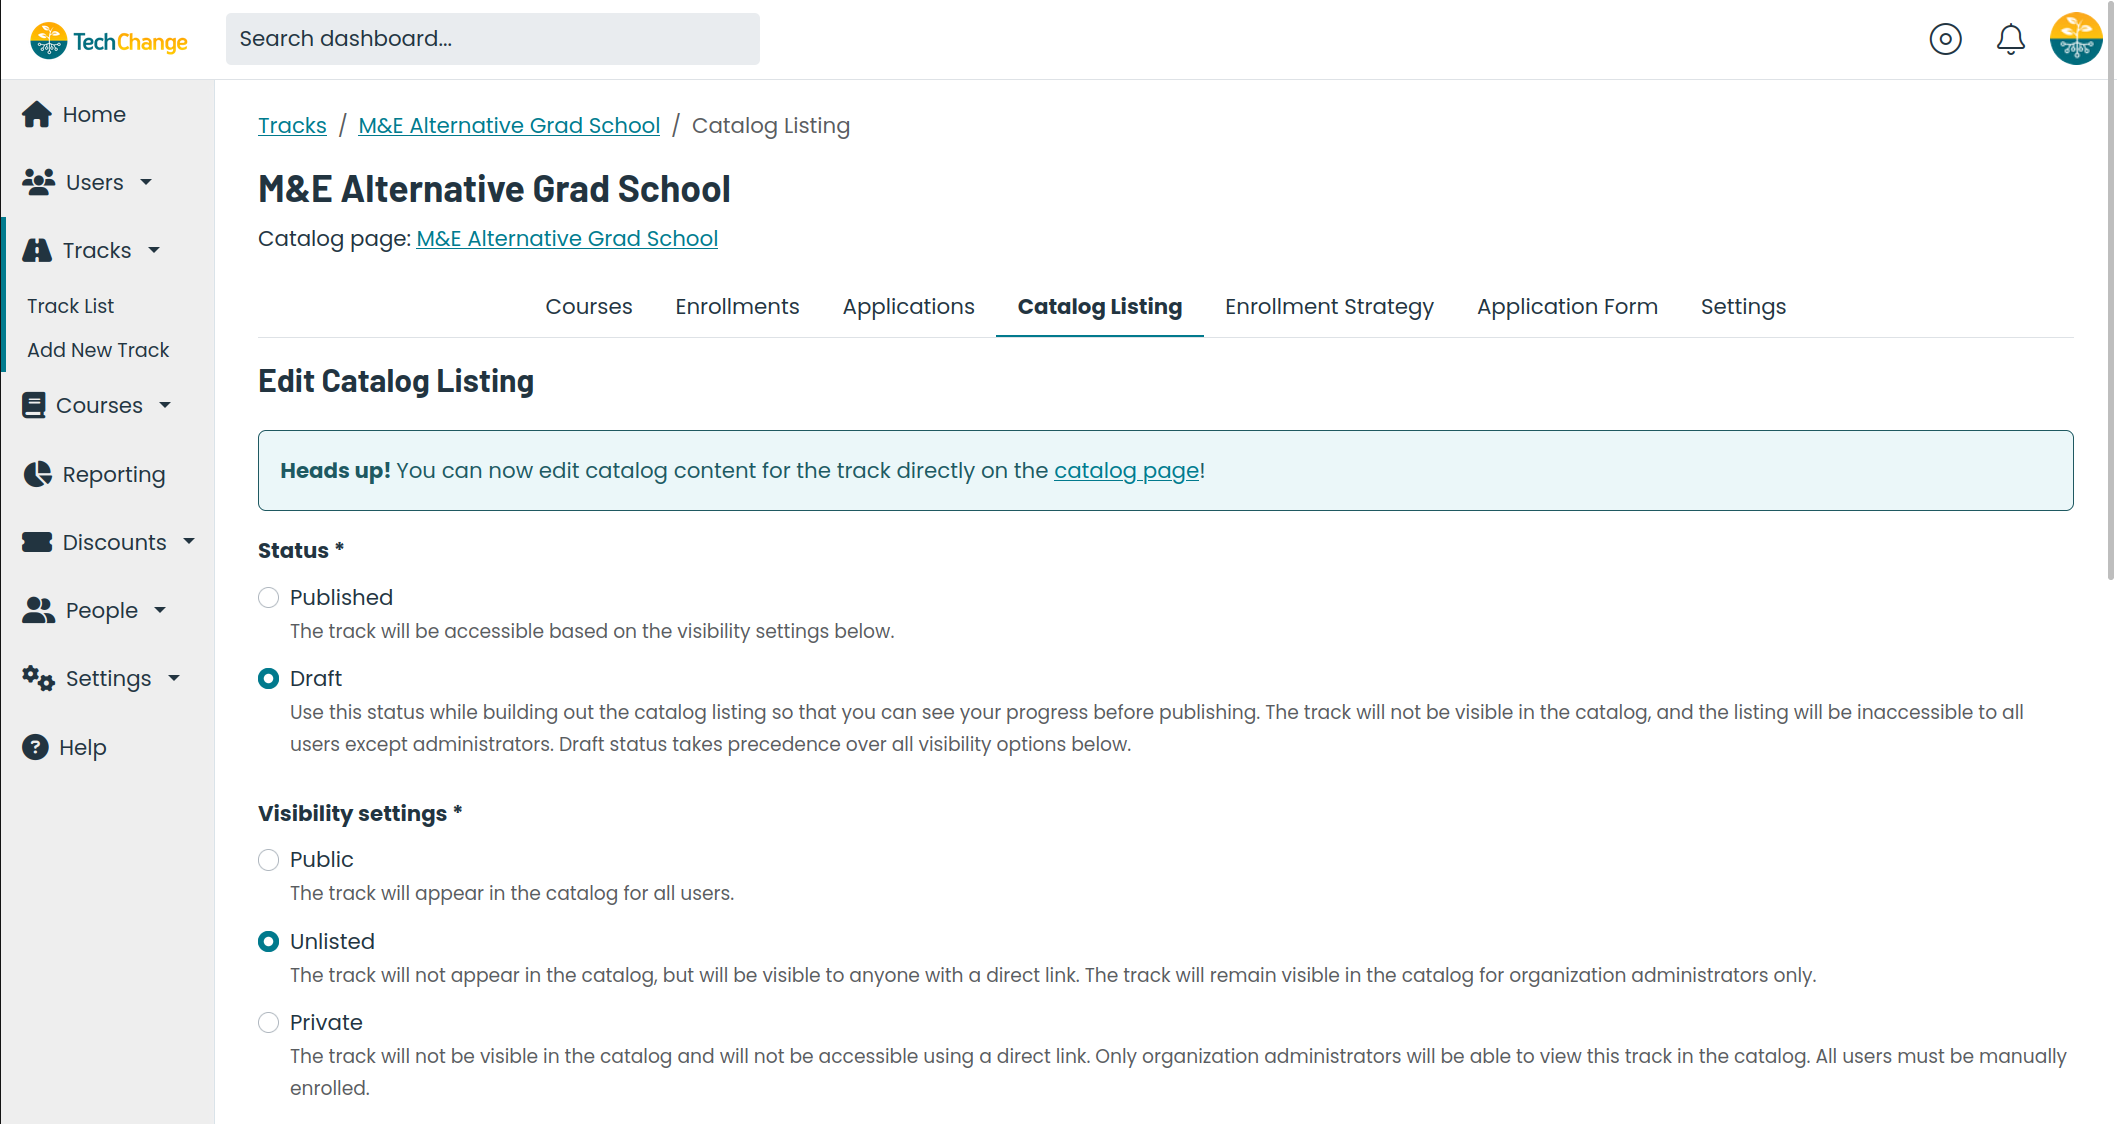
- Choose the status for the catalog listing:
- Published: The catalog listing will be available for users according to the visibility setting below.
Double check that you are ready for users to enroll before you set the status to "published".
- Draft (default): The catalog listing will not be visible to anyone except organization admins, regardless of the visibility setting below. Use this status while building the content for the catalog listing page and while choosing the enrollment strategy.
- Published: The catalog listing will be available for users according to the visibility setting below.
- Choose the visibility setting for the catalog listing:
- Public (default): The product's catalog listing is visible for all users (both logged-in and logged-out).
- Unlisted: The product will not be included in the catalog homepage, but the product's listing page is visible to anyone with a direct link. NOTE: Only admins will be able to view this product in the catalog homepage.
- Private: The product will not be included in the catalog homepage and the product's listing page will not be visible to anyone with a direct link. All users must be manually enrolled by an admin. NOTE: Only admins will be able to view this product in the catalog homepage.
Closed cohort communities, such as fellowships, may find it useful to utilize the "private" setting. Since courses/tracks are only visible once a user has been manually enrolled, this option gives the administrator maximum control and removes any possibility that an unapproved user could see any catalog listing content.
- (Optional, Only For Courses) Choose the experts/facilitators to display:
- None: When checked, no experts/facilitators appear.
- Previous Session: When checked, only experts/facilitators listed under the previous course setting appear. This is most useful when a session has recently ended (and thus no sessions are active) and you want to show only that session's information.
- All Sessions: When checked, all experts/facilitators listed for any previous section will be displayed.
- See section below for more information on experts/facilitators.
- (Optional) Upload a badge and cover image for the catalog listing page.
- The badge is a square image displayed on top of the cover image on both the catalog homepage and the catalog listing page. A high resolution image is recommended.
- The cover image is displayed on both the catalog homepage and the catalog listing page. The image size will change in response to the size of the user's screen. As such, there are no required dimensions, though a high resolution image is recommended.
- (Optional) Add a display name for the product.
- Specify the name of the product type (e.g. "course", "webinar", "workshop"). This will be shown wherever the product type is referenced in the catalog.
- (Optional) Add the time commitment for the product.
- (Optional) Add a short description for the product, which is used on the catalog homepage for the course/track cards.
- (Optional) Add a confirmation message for the product, which is visible to a user upon enrollment in the course/track.

Catalog Listing Page - Content
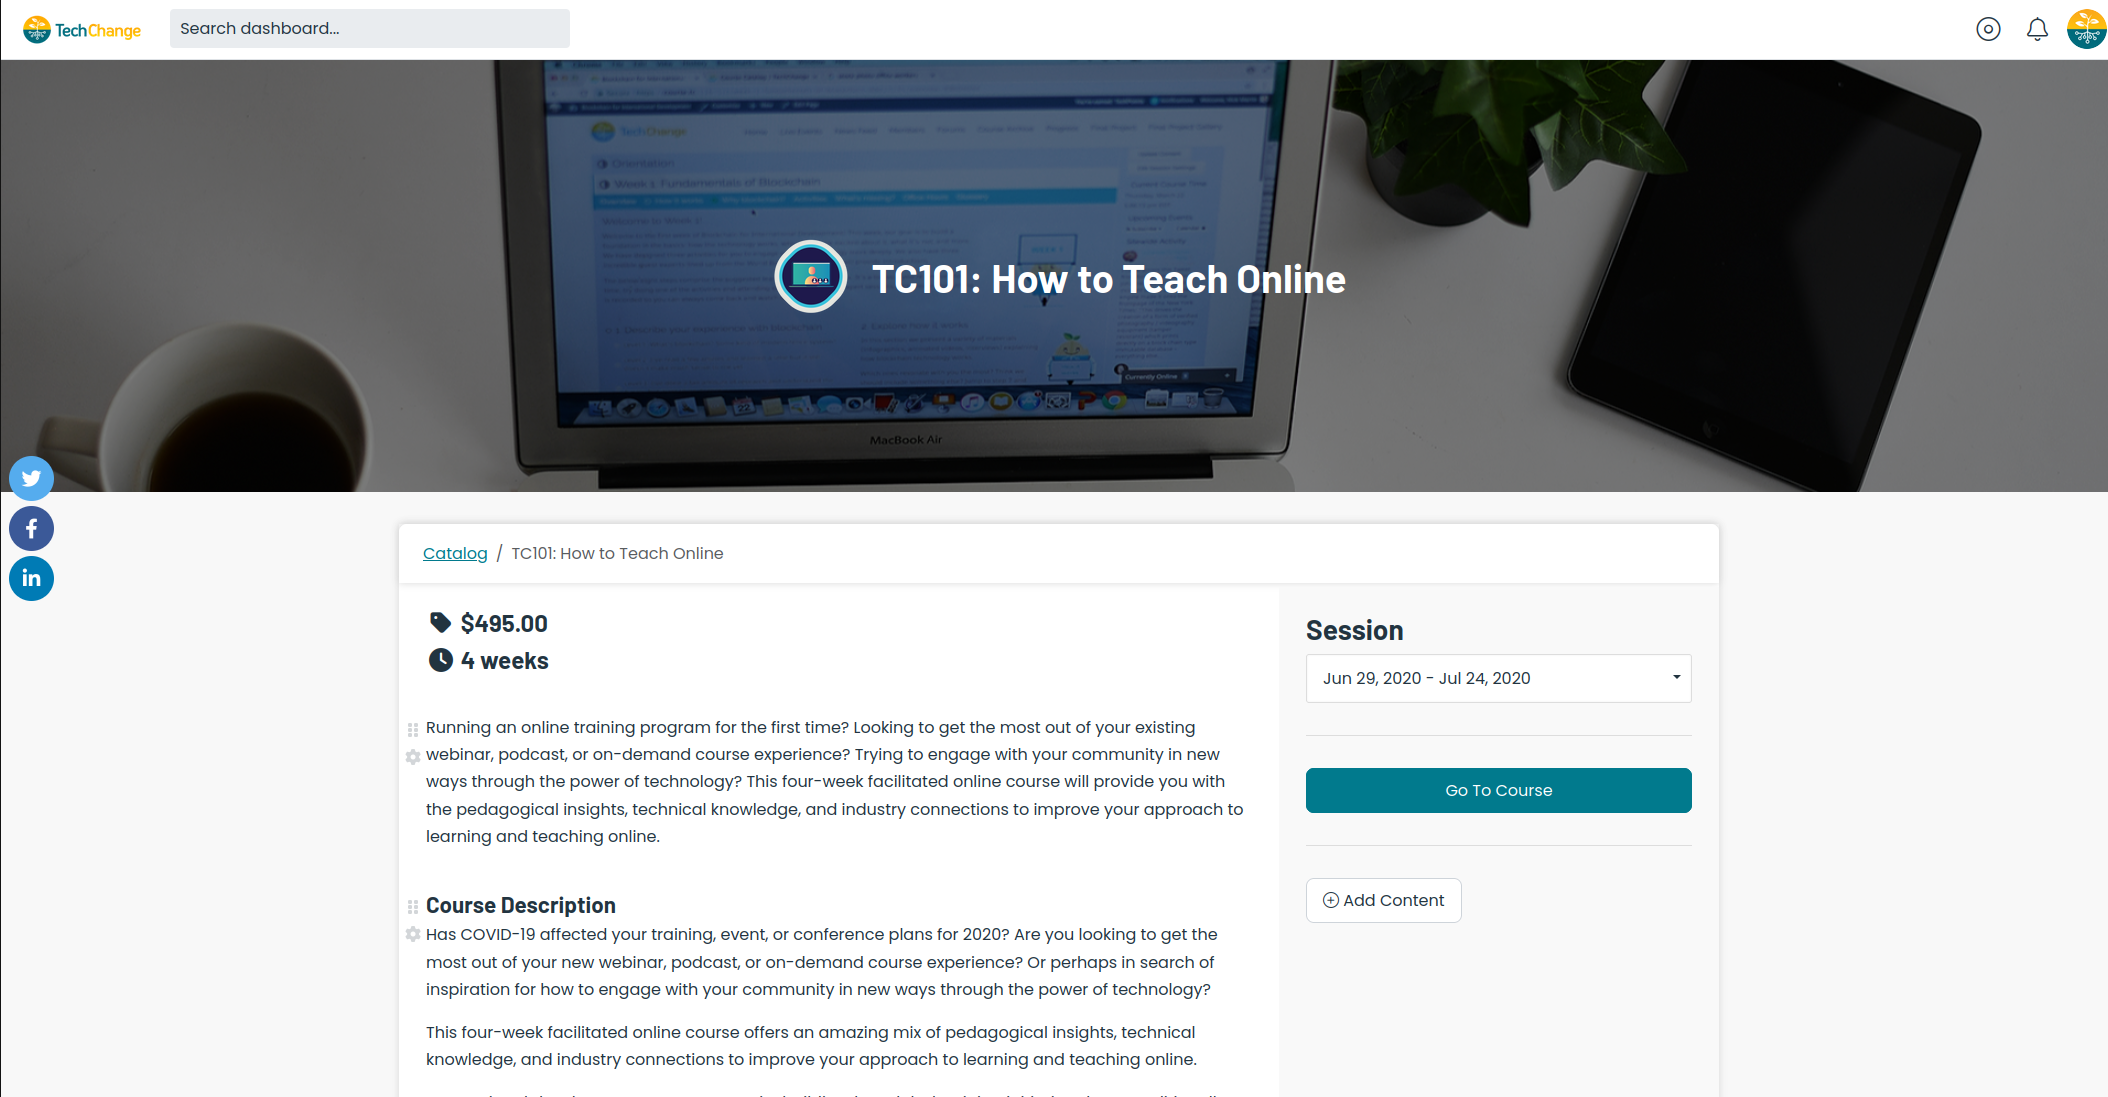
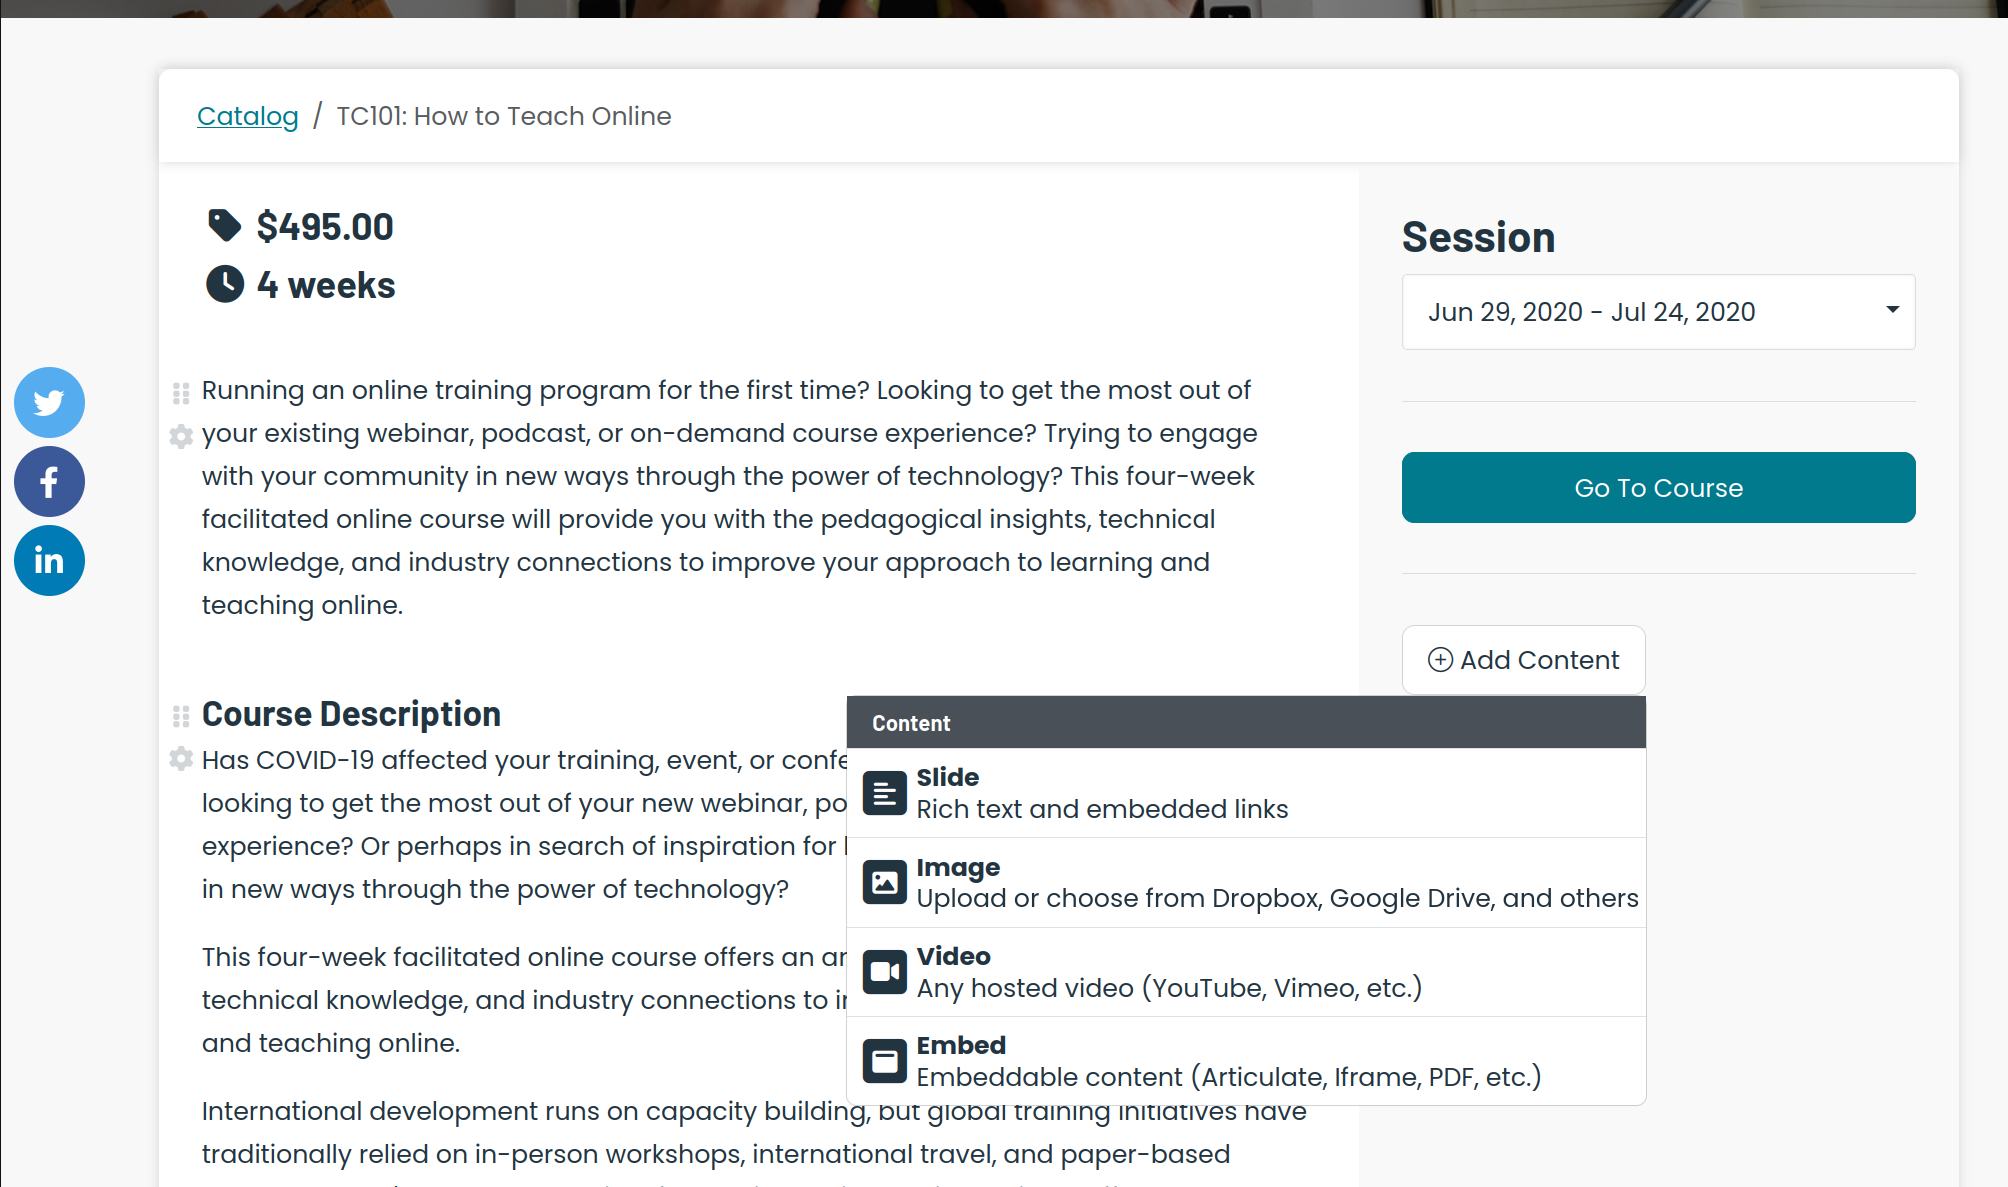
You can add custom content to the catalog listing page, such as anything relevant to marketing/promoting your product. This could be information describing the course structure, objectives, facilitators, pricing, or anything else of interest to your potential audience.
You'll be able to add content to both the "Main Section" and the "Aside Section" of the catalog listing page using the "+ Add Content" buttons.
The "Main Section" refers to the content on the left side of the page, which will appear beneath the price and time commitment information for the product:

The "Aside Section" refers to the content on the right side of the page, which will appear beneath the session selector, call-to-action button, and guest experts/facilitators for the product:
Catalog Listing Page - Session Settings
In addition to the content and settings described above, each individual course session will also have settings that can be used to control the catalog listing page when viewing that specific course session.
- Navigate to the Session Settings page.
- Select the Courses -> Course List menu item.
- Select the course from the list of all courses in the organization.
- Select the session from the list of all sessions in the course.
- Click on the Settings nav item.
- Choose if registration is open for the session.
- Choose if users can access the session content once enrolled.
- (Optional) Enter a start date and end date for the session. NOTE: This will only affect the display of the catalog listing page, users will be able to access the session content based on "is registration open" and "is session available" settings above.
Add Session Experts & Facilitators
Experts and facilitators are added using the same process, outlined below.
Adding an expert or facilitator to a session does not create an account for that individual or allow them to access the session. The instructions below simply add information about that individual to the catalog listing page. If you want your facilitator or expert to have an account, you must enroll them separately.
- From the admin dashboard home, click "Courses" on the left menu.
- Click "Course List" on the dropdown menu.
- Click on your course's slug or title.
- Click on the course session to which you'd like to add an expert or facilitator.
- Click on "Experts" or "Facilitators" from the session administration menu, depending on which type you are trying to add.
- Click "Add Expert" or "Add Facilitator" in the top right of the page, just below the horizontal session settings bar.
- Fill in all fields.
- Name: Enter the individual's name. As you type, a dropdown will appear that says "Add [Name] - click this when you are done.
- Affiliation: Enter the organization with which the individual is affiliated.
- Upload Image: Click this button to add an image. This is typically a headshot of the individual. The image will be placed in a round frame - be aware that the corners of the image will be cut off.
- To upload an image:
- Select the file you'd like to upload. This can be a file from your computer, a link to an image hosted elsewhere, or an image from Facebook, Instagram, Google Drive, or Dropbox.
- Crop: Once you've selected the image, you'll have the opportunity to crop it. Click on the "Crop" tool in the upper right hand of the media upload window. Click on a blue dot at the corner of the image and drag to your desired size. Press "Save" when done. Click "Reset" to undo the crop.
- Click "Upload" to add the image.
- To change an image:
- Click the "Change Image" button next to the preview of your uploaded image.
- Follow the steps above to upload a new image.
- To remove an image:
- Click the "Remove" button next to the preview of your uploaded image.
- To upload an image:
- Biography: Add in any relevant information about this individual. This field supports media such as images, links, and videos. Only the first few words will appear on the catalog listing - the user can select "Read Bio" to see all details.
- Click "Create Expert" or "Create Facilitator" to save your changes and publish this expert or facilitator on the course catalog listing.
Edit a Session Expert or Facilitator
- Return to the course session in the admin dashboard.
- Click on either "Experts" or "Facilitators" from the session administration menu, depending on the category of the individual you are editing.
- Click the "Edit" button to the right of that individual's name, affiliation, and biography.
- Make any desired changes.
- Click "Save Changes" when done.
Delete a Session Expert or Facilitator
- Return to the course session in the admin dashboard.
- Click on either "Experts" or "Facilitators" from the session administration menu, depending on the category of the individual you are editing.
- Click the "X" button on the far right of that individual's row.
Reorder Session Experts or Facilitators
If you'd like your session experts or facilitators to appear in a different order on the course catalog listing, follow the instructions below:
- Return to the course session in the admin dashboard.
- Click on either "Experts" or "Facilitators" from the session administration menu, depending on the category of the individual you are editing.
- Click and drag the two-headed arrow to the left of that individual's photo and name either up or down until they are in the desired order.
- Repeat with any other experts or facilitators until the list is ordered as you wish.
Changes will automatically save.