Navigation Menus
Overview
Each course comes with two standard menus, which allows users to navigate throughout the various pages of the course.
The main nav is found at the top right of each page and is often the primary way users navigate between pages within the course.

The footer nav is found at the bottom left of each page and includes links to pages containing supplementary information.

Both menus can be fully customized to fit your needs.
Main Nav
The standard main nav includes the following menu items:
- Home: This button takes the user to the course content page.
- Events: This page features live streams of webinars. Users can interact with experts and each other through the chat box.
- Members: This page lists all users who are actively enrolled in the course session. Information from their user profiles, if complete, will connect to these cards.
- Discussion: This page features discussion forums and topics that users can use to discuss course content, network, and get to know one another.
- News Feed: This page features a running log of public course activity, such as discussion posts, event RSVPs, and other user activity. It does not include progress information.
Footer Nav
The standard footer nav is empty by default. You can customize the footer nav as described below!
Usage
To add a menu item:
- Click on the "Add menu item" button.
- Enter a title.
- Enter a URL. The URL can be absolute (i.e. https://course.tc/101-4/events) or relative (i.e. /events).
- (Optional) Enter the CSS classnames for a Font Awesome icon, i.e. fas fa-robot.
- Click "Save".
To edit a menu item:
- Hover over the menu item and click on the "Edit menu item" button.
- Update the title.
- Update the URL.
- (Optional) Update the Font Awesome icon.
- Click "Save".
To re-order a menu item:
- Hover over the menu item and click on the "Move menu item" button.
- While holding down the mouse, drag the menu item to the desired location. Once you see a purple vertical bar appear, you can release the mouse to place the menu item in the desired location.
To delete a menu item:
- Hover over the menu item and click the "Remove menu item" button.
- A modal will appear on the page asking you to confirm your decision.
- Click on the "Yes, I am certain" checkbox to confirm your decision.
- Click "I understand the consequences, delete this menu item".
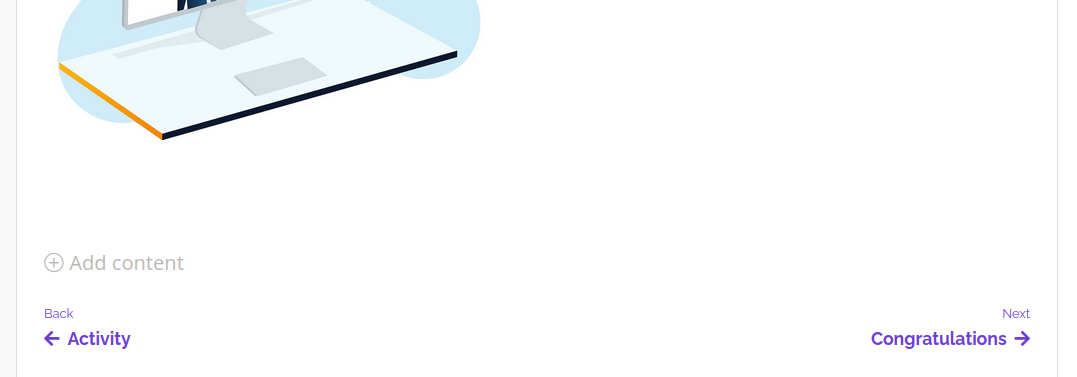
Module Navigation Arrow
Navigation between modules, submodules and nested submodules can be tedious. In order to simplify navigation, module navigation buttons can be enabled. Once enabled, there will be two arrows at the bottom of each module to enable navigating to the previous and next module/submodule/nested submodule.
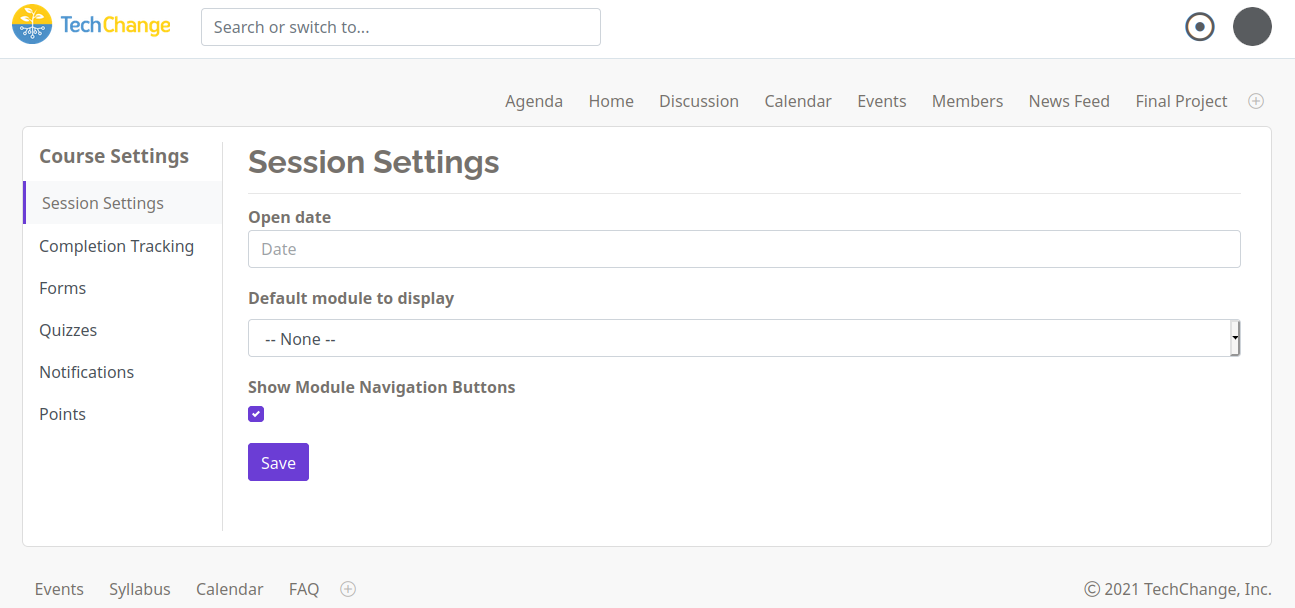
The following steps can be followed to enable the Navigation Buttons:
- Click on the Avatar Icon on the top right of the screen
- Navigate to ‘Session Settings’
- Select ‘General’ in the menu bar on the left
- Click on the checkbox below ‘Show Module Navigation Buttons’
- Click ‘Save’